
Bathroom Design in Warren County: Keep or Replace
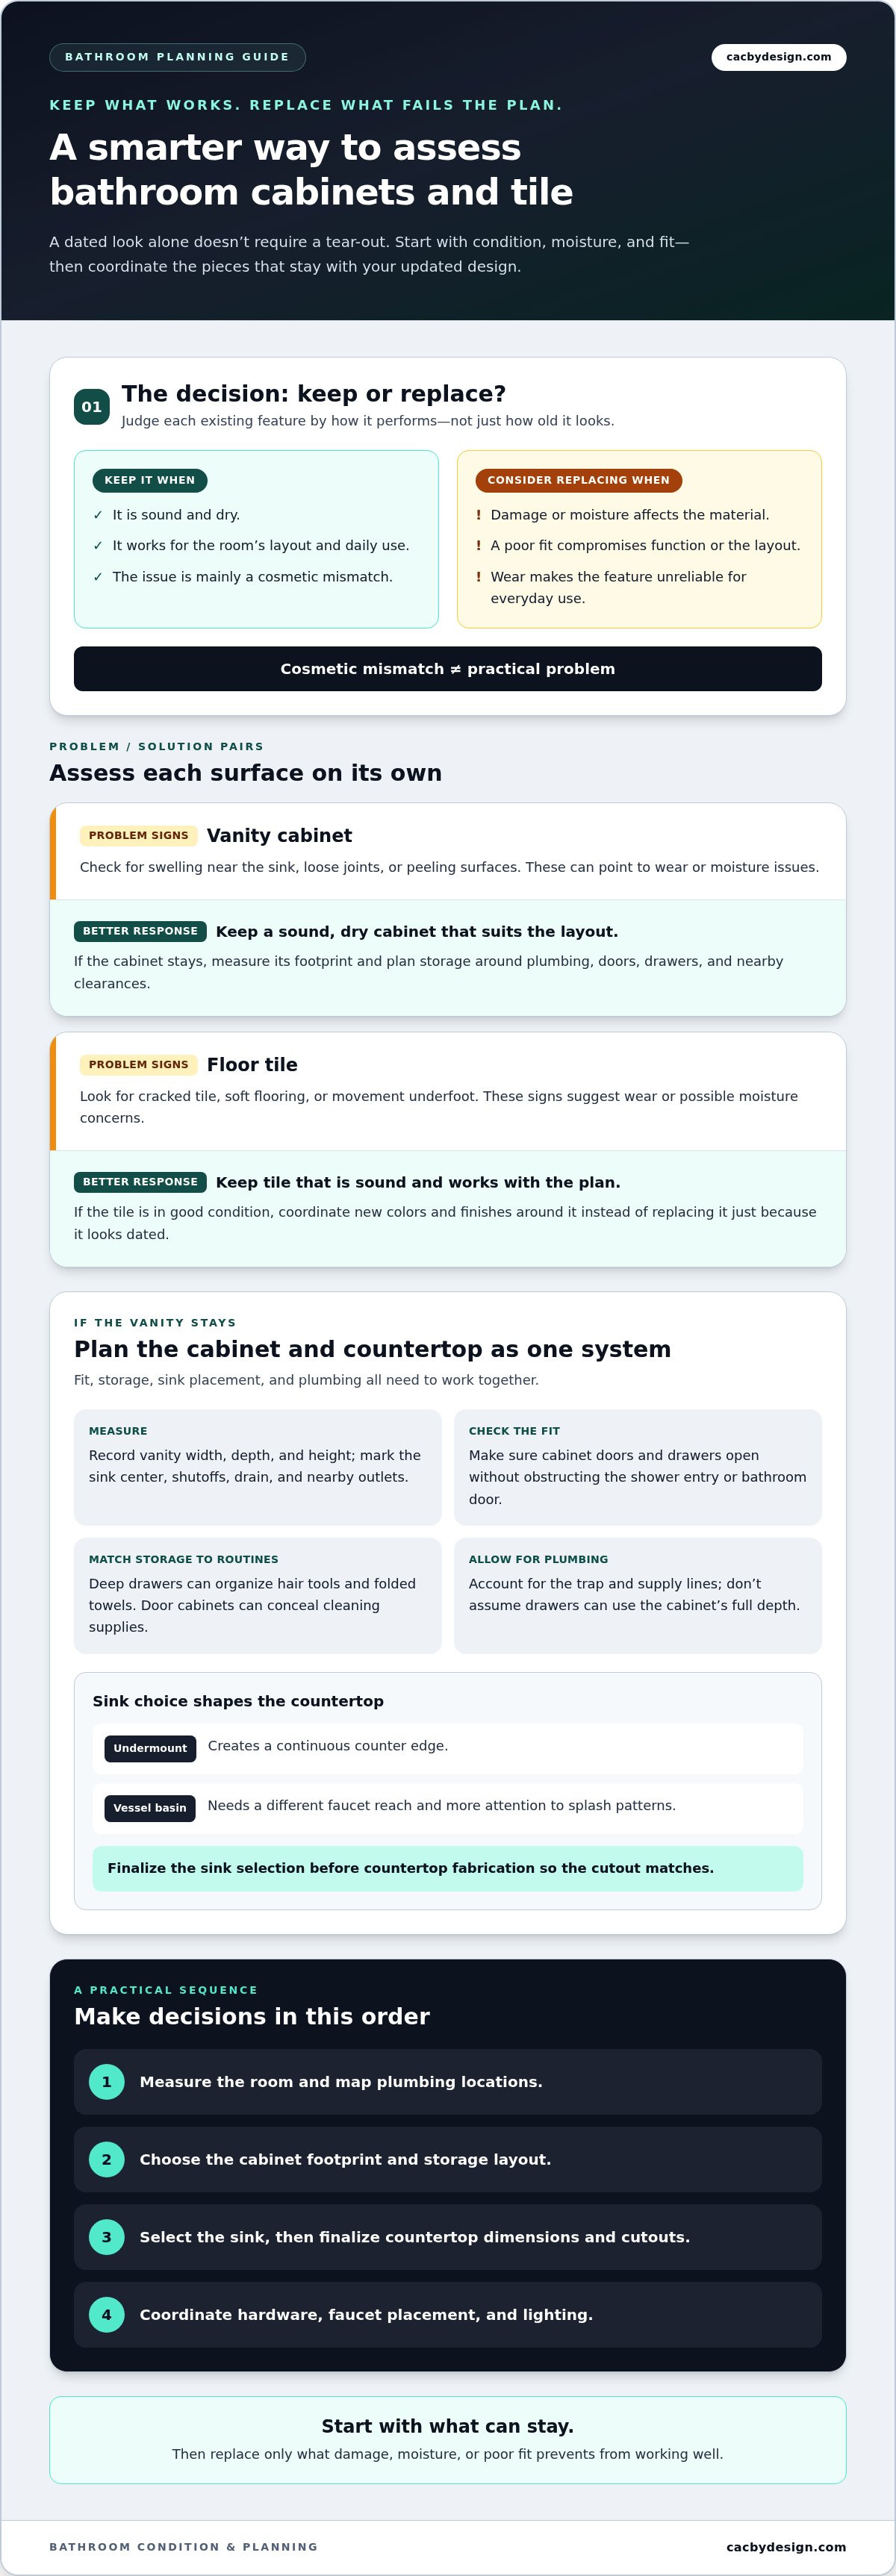
A dated bathroom doesn’t automatically need a full tear-out. Keep vanity cabinets or floor tile if they’re sound, dry, and suit the layout; replace them when damage, moisture, or a poor fit compromises function. For bathroom design ideas in Warren County, start with what can stay, then plan coordinated colors, storage, countertops, and finishes.
There’s little reason to replace materials that still work. Separate cosmetic mismatches from practical problems so a fresh look doesn’t come at the expense of lasting function.
This guide explains how to assess your vanity and tile, choose colors and finishes, and coordinate cabinets with countertops. Thoughtful planning can make existing features part of the finished room instead of treating every update as a reason to start from scratch.
Table of Contents
Bathroom colors, designs, and 3D planning
Build your design around the room’s dimensions, existing features, and daily use. A measured plan makes it easier to compare colors, storage, and finishes before remodeling begins.
Color and Design Planning
Begin with wall lengths, ceiling height, window placement, and fixed plumbing. These details establish what the layout can support and which existing features could remain. For geographic clarity, according to the U.S. Census Bureau, the median year built for a home in Warren, Michigan, is 1965. That figure describes Warren, Michigan, not Warren County, Ohio.
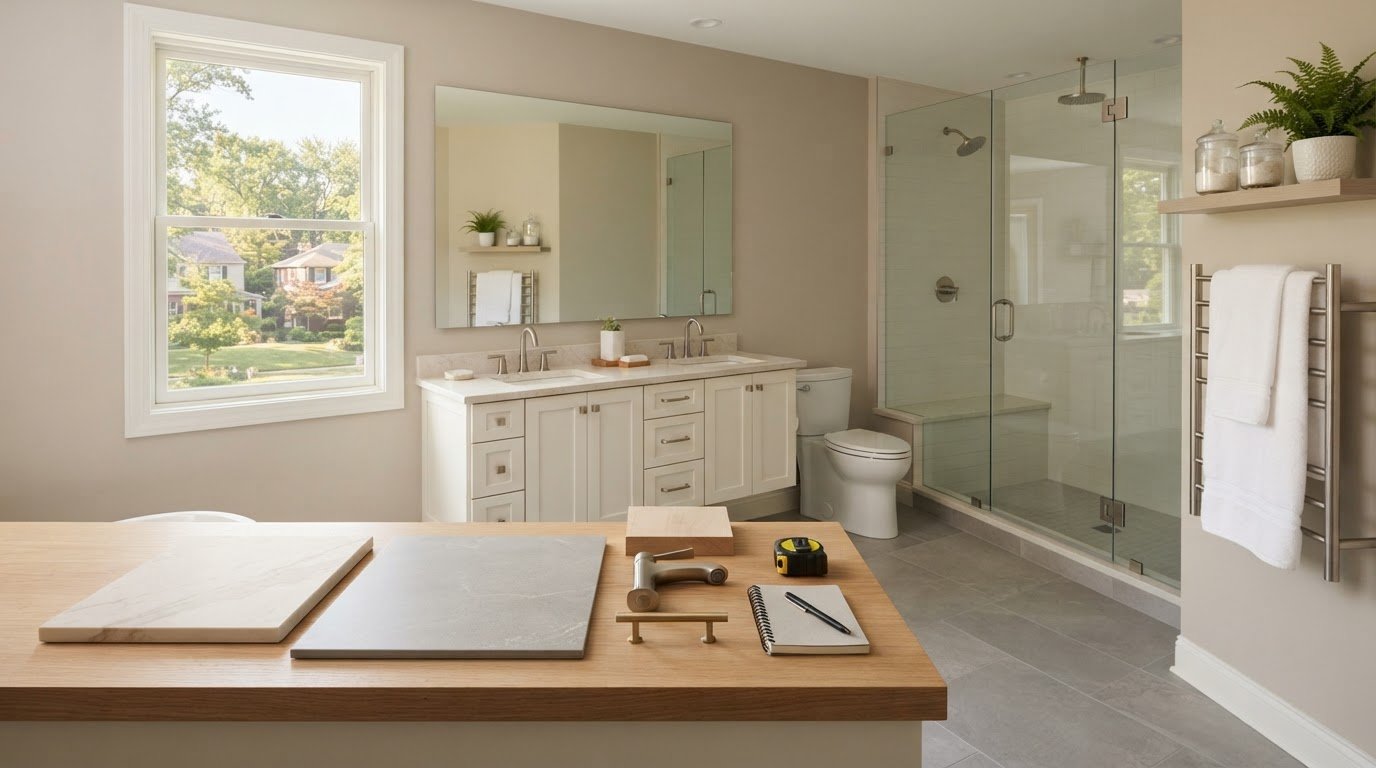
Choose a primary surface first, then coordinate cabinetry, trim, and hardware around it. Sherwin-Williams Niebla Azul, color code SW 9137, is one example of a blue paint for trim or cabinetry. Benjamin Moore Half Moon Crest, color code 1481, offers a vanity color example. Use physical samples beside tile and countertop selections, since nearby materials can shift how a paint color appears.
3D planning lets you compare those selections in the room’s actual arrangement. Review the vanity, shower walls, lighting, and storage together. A digital view can show whether a cabinet interrupts a doorway or a strong tile pattern competes with the countertop. It helps organize decisions, but it doesn’t guarantee the final appearance will match every screen detail.
Small Bathroom Layouts
In a compact room, map door swings and fixture clearances before choosing finishes. Check whether an open door blocks a vanity drawer and whether the shower entry remains accessible. A recessed shelf adds storage without using floor space, while a wall-mounted cabinet can keep the room feeling open.
Keep the design visually focused. For example, use one prominent tile pattern and quieter surrounding finishes. Place everyday toiletries near the sink, then reserve less accessible storage for occasional items. In a 3D view, inspect the doorway sightline and the relationship between mirror, vanity, and light fixture.
Tile, Vanity, Lighting, and Fixture Trends
Design ideas include colored cabinetry, coordinated trim, and contrasting natural textures. Use patterned tile as a focal point, balanced with simpler shower surfaces or cabinet fronts. Choose faucet and cabinet hardware finishes that complement rather than compete with one another. Compare samples in the bathroom’s lighting before settling on a palette.
Plan lighting around the mirror and sink, then check how its shape relates to the vanity and ceiling. A typical full bathroom remodel in Warren takes 5-10 working days. The main steps are measuring, setting the layout, selecting finishes, completing the remodeling work, and installing fixtures. Keep these decisions in sequence so the selections align with the plan.
Bathroom vanity cabinets and countertops
Plan the vanity as a system: cabinet storage, countertop shape, sink placement, and plumbing all need to work together. Before choosing cabinet proportions, measure the available wall and note the ceiling height.
Permit requirements vary by project scope and local jurisdiction. Cosmetic updates differ from work that changes plumbing, electrical systems, or structural elements. List all planned changes before setting the project sequence.
Plumbing and electrical work must meet the codes that apply to the property and project. Requirements depend on what you move, add, or replace, such as a sink drain, water supply, or vanity lighting.
Start with a simple inventory. Record the vanity’s width, depth, and height, then mark the sink center, shutoff locations, drain, and nearby outlets. These measurements help determine whether the existing cabinet can stay or a different footprint would fit better. Make sure drawers and doors can open without obstructing the shower entry or bathroom door.
Choose cabinet storage to suit your routines. Deep drawers can organize hair tools and folded towels, while a door cabinet can conceal cleaning supplies. If plumbing occupies the center, account for the trap and supply lines instead of assuming drawers can use the cabinet’s full depth. A filler panel can help the cabinet sit neatly beside an uneven wall.
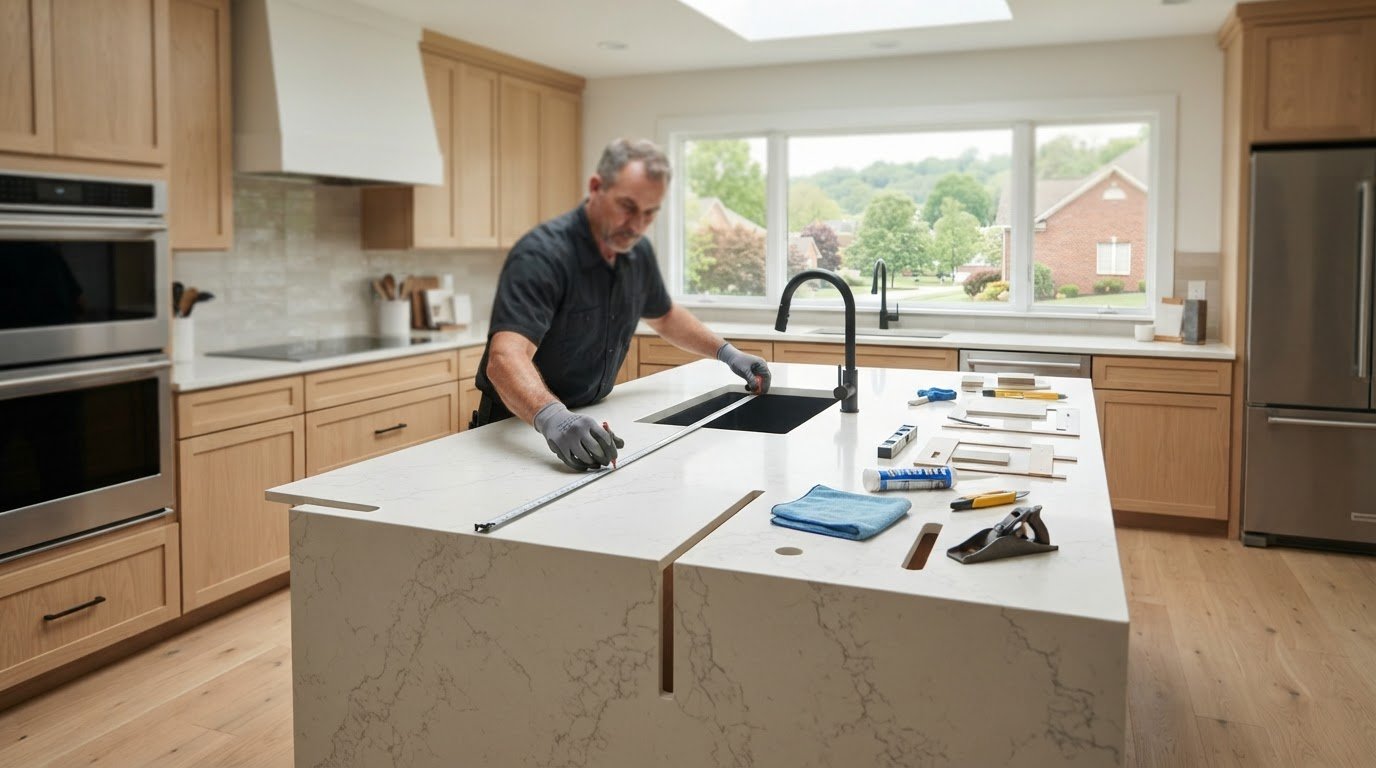
Countertop planning starts with the sink. An undermount sink creates a continuous counter edge, while a vessel basin requires a different faucet reach and more attention to splash patterns. Match the countertop cutout to the selected sink before fabrication. A 78-inch double-bowl countertop is one example of a broad configuration, but the room’s available wall length and plumbing locations determine whether two basins make sense.
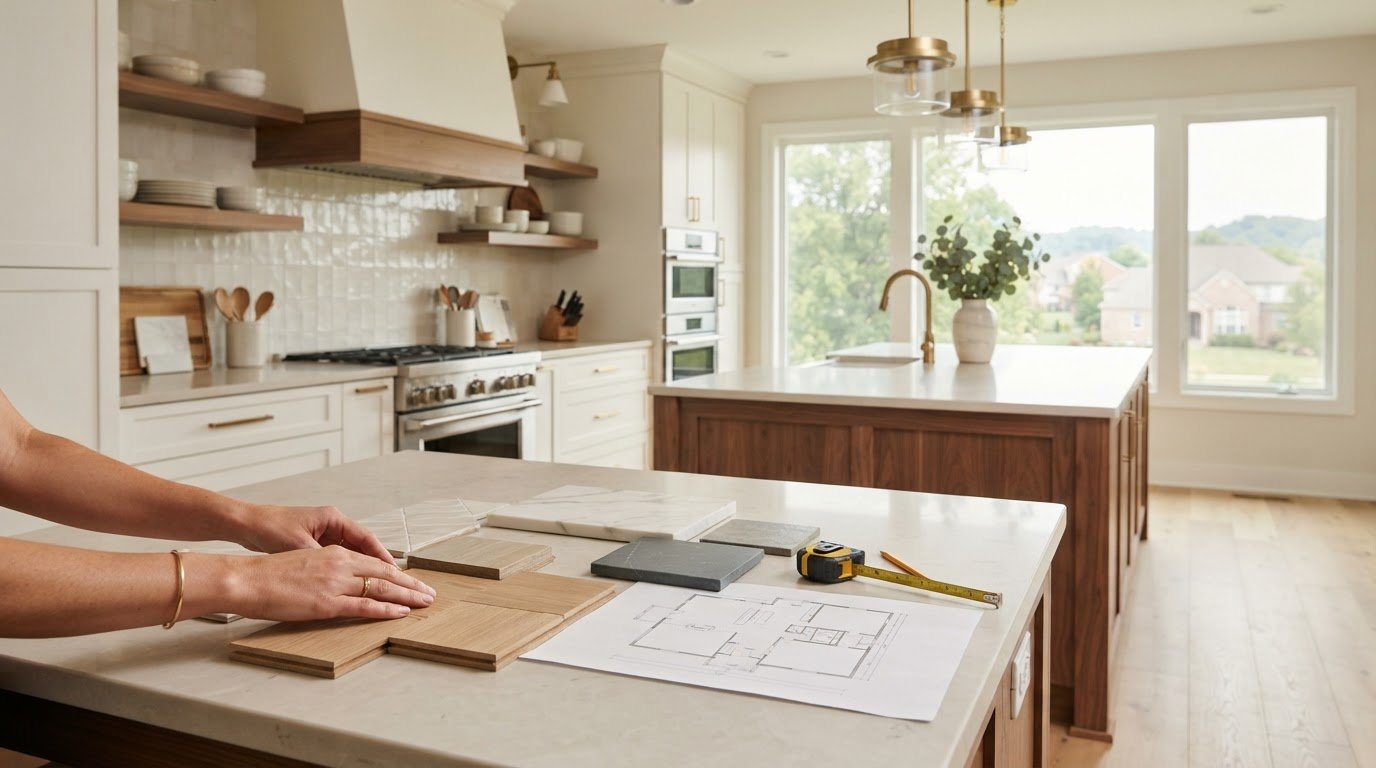
Compare surface appearance, care needs, and edge profiles as part of the same decision. Marble has distinctive natural veining; quartz offers a more consistent pattern; granite and quartzite have natural variation. Soapstone and wood bring different textures. Consider how each material will look with your cabinet color, floor tile, and lighting.
Use this sequence to reduce design conflicts:
Measure the room and map plumbing locations.
Choose the cabinet footprint and storage layout.
Select the sink, then finalize countertop dimensions and cutouts.
Coordinate hardware, faucet placement, and lighting.
This approach keeps the vanity functional as well as polished. A custom cabinet plan can address awkward wall dimensions, while a coordinated countertop and sink layout makes everyday use straightforward.
Keeping existing cabinets or flooring
Keep a cabinet or floor when it’s sound, useful, and compatible with the planned finish. An outdated color alone isn’t a reason to remove it. Look for swelling near the sink, loose joints, peeling surfaces, soft flooring, cracked tile, or movement underfoot. These signs suggest wear or moisture issues, not just an old-fashioned style. Assess each material’s condition before deciding what stays. For bathroom design ideas in Warren County, start with the condition of the materials.
Inspect the cabinet in place. Open every door and drawer, check that they close evenly, and look inside for water marks around the plumbing. A stable cabinet may work well with updated hardware or a new finish, especially if it fits the room. A damaged base, persistent dampness, or inadequate storage may warrant replacement. The new cabinet must also align with the sink, wall, and plumbing connections.
Evaluate floor tile by checking for loose pieces, cracked grout, uneven edges, and signs of water damage. A traditional marble hex floor tile can reference the 1930s roots of a house, giving an older bathroom a detail worth preserving. Keep it as a design anchor if the surface is intact and suits the updated palette. Fresh wall color, coordinated cabinet hardware, and a thoughtfully chosen countertop can help existing tile feel intentional. This is a practical approach to bathroom design ideas Warren County homeowners want to adapt to an older home.
Use this practical decision sequence:
Check condition: Look for movement, water damage, cracks, and loose joints.
Test function: Open cabinet doors, use drawers, and assess storage access.
Compare the design: Match retained materials with new colors and finishes.
Plan the transition: Confirm how new surfaces will meet existing tile and cabinetry.
Plan around materials that will remain, basing the decision on their condition and the room’s layout. For example, replacing a vanity while keeping sound floor tile requires careful attention to the cabinet footprint. A smaller replacement may expose an unfinished strip; a larger one may cover existing tile. Resolve these edges in the design before work begins to avoid a mismatch during installation.
Keeping the cabinet and flooring can preserve character, provided both still suit the room’s use. Replacing just one component can refresh the space without removing everything. If the cabinet works but looks dated, new hardware may change its appearance. If floor tile is damaged, replacing it can create a cleaner foundation for the rest of the design. Decide material by material, based on condition, function, and fit.
Waterproof materials and low-maintenance finishes
A durable bathroom depends on the whole surface assembly, not just the visible finish. Tile, grout, seams, and the layer beneath them must work together around the shower, tub, and sink. A polished surface can’t make up for water reaching vulnerable backing or cabinet edges.
Start by mapping where water lands. Shower walls and floors face direct spray, while the vanity top gets splashes and damp toiletries. Choose materials for each zone rather than repeating one finish throughout. For instance, use a surface suited to wet-area installation in the shower, then coordinate its color with a wipeable wall finish outside the splash zone.
Tile works well on shower walls and floors, but consider grout joints when choosing and maintaining it. Smaller tiles create more joints, while larger ones mean fewer grout lines. The best layout depends on the surface shape and the installer’s ability to create an even, stable finish. Ask how the assembly will handle corners, niches, and transitions.
For floors, prioritize a surface that feels secure underfoot when wet. Compare samples in the room’s lighting and consider texture as well as color. Highly polished tile may look sleek, but a textured finish may suit a shower floor better. Pair the tile with compatible grout and follow the product’s care directions to maintain its appearance.
Protect cabinets by managing water around the sink. Wipe standing water from seams and edges, and choose a countertop overhang that directs routine splashes away from cabinet fronts. Check below the basin for drips. A persistent leak can damage a cabinet even if the exterior looks sound, so fix the source before replacing doors or hardware.
Use this selection checklist before ordering materials:
Match the zone: Specify shower, floor, vanity, and wall surfaces separately.
Review transitions: Plan corners, edges, drains, and changes between materials.
Compare upkeep: Check cleaning and sealing directions for each selected finish.
Plan replacement: Identify which surfaces can be repaired and which require removal.
Low-maintenance results come from matching materials to daily use and following their care requirements. For example, an actively used family bathroom may benefit from easy-to-clean surfaces around the sink and shower. Natural stone, tile, and other finishes have different care needs, so choose based on appearance, use, and upkeep, not color alone.
During installation, pay particular attention to seams around the shower valve, faucet, and backsplash, where moisture and cleaning are frequent. A coordinated material plan helps avoid mismatched edges and awkward transitions. Confirm the sequence for waterproofing, surface installation, and final sealing before work begins.
What bathroom layouts work best for small bathrooms?
In a small bathroom, protect clear movement before adding storage or decorative features. Start with a measured floor plan and mark the door swing, toilet, vanity, shower, and plumbing locations. This reveals where fixtures compete for space and which changes could improve daily use. Keep existing plumbing positions when they support a functional arrangement.
A one-wall layout can work when the sink, toilet, and shower already line up along one side. Keeping them in place can simplify the plan and preserve floor space. If the door blocks the vanity, consider a pocket or outward-swinging door if the room’s structure allows. Test the change on the plan before choosing cabinets or fixtures.
In a narrow bathroom, place the vanity and toilet along one wall and the shower at the far end. A clear route from the doorway to the shower makes the room easier to use. Choose a vanity with drawers that open without hitting the door or toilet. Recessed shelving adds storage without narrowing the path.
A corner shower can free a longer wall for the vanity, while a tub-shower combination keeps bathing options within one footprint. Compare each layout with household routines, plumbing, and access needs. A clear glass shower panel can maintain open sightlines, while a curtain can be pulled aside. Prioritize function over the impression of extra floor space.
Use a simple planning sequence before finalizing the design:
Measure the room: Record wall lengths, door placement, window locations, and ceiling changes.
Mark fixed elements: Note the drain, water supply, toilet connection, and electrical points.
Test fixture openings: Check doors, drawers, and shower access on the floor plan.
Assign storage: Place daily-use items near the sink and shower.
Base storage on the room’s actual routines. A narrow cabinet beside the vanity can hold toiletries, while a recessed shower niche keeps bottles off the floor. A mirrored medicine cabinet combines a mirror with concealed storage. Avoid oversized cabinetry that narrows the walkway or makes the sink harder to reach.
Lighting and sightlines also affect how a compact layout feels. Place mirror lighting where it serves the sink, and avoid bulky fixtures that crowd the ceiling. Keep finishes visually consistent across the vanity and shower so the eye reads the room as one space. A full bathroom remodel can address layout, cabinetry, and fixture placement as a coordinated plan. Plan a full bathroom remodel around the room’s measurements and daily use.
A small Warren shower stall was rebuilt with a custom base measuring 36 3/4 by 34 inches, showing how a tailored footprint can suit a compact plan.
Countertops and Cabinetry By Design: Marble Countertops
Countertops and Cabinetry By Design can help coordinate your bathroom plan with countertop material and installation. Marble offers distinctive veining, while quartz, quartzite, and granite provide other looks to pair with bathroom colors and cabinets. Choose based on your preferred appearance, how the surface will be used, and the care routine that suits your household.
When you’re ready to turn material ideas into a coordinated countertop project, Countertops and Cabinetry By Design provides design guidance, material selection, fabrication, and installation. The team can help align the surface with your bathroom’s layout and overall finish, a practical next step once you’ve decided what stays and what changes.
Contact Countertops and Cabinetry By Design to discuss your bathroom countertop project, or visit cacbydesign.com.
Make Your Next Design Decision Count
Turn your preferred look into a clear project direction. Decide which parts of the room matter most, then bring those priorities into a focused conversation. This gives your bathroom design ideas in Warren County a practical foundation shaped by how you use the space.
Countertops and Cabinetry By Design can help you choose a countertop to suit your bathroom plan, including marble, quartzite, and quartz. The aim is to find a surface that works with your cabinetry and the look you want.
Before reaching out, gather a few inspiration images and note which existing features you hope to keep. These details can help you discuss the project’s direction and material choices while keeping your priorities in view.
Ready to move from ideas to a considered plan? Contact Countertops and Cabinetry By Design to discuss your countertop project. A clear starting point can make the next design decision feel more manageable.
Frequently Asked Questions
Can I keep my vanity cabinets or floor tile?
Yes, existing cabinets or tile can stay if they’re sound and suit the updated plan. Check, for example, whether floor tile continues beneath the vanity; a replacement cabinet with a smaller footprint could expose an unfinished strip. Make sure the sink and countertop dimensions also work with the cabinet. Homeowners in Warren County and nearby Hamilton, Butler, Montgomery, Green, Clinton, Clermont, and Brown counties can consider these details when planning a bathroom update.
Can you add a shower seat or grab bars?
A shower seat or grab bars can be included in bathroom layout planning. Position them to support comfortable entry and movement without blocking the shower opening or controls. Grab bars need suitable structural support behind the finished wall, and a seat must fit the shower’s usable space. Include these needs early in a full bathroom remodel, before installing wall finishes, so support and placement are planned together.
What bathroom design styles are popular in Warren County?
Popular bathroom styles include contemporary, transitional, traditional, and natural-material designs. Contemporary rooms often feature clean lines and restrained details; transitional spaces combine classic shapes with simpler finishes. Traditional designs may use decorative cabinet details, while natural-material schemes highlight stone or wood textures. Consider your home’s existing character and the look you want, then repeat a few finishes for a cohesive result.
What moisture, ventilation, and waterproofing risks should bathroom designs address?
A bathroom design should manage water around showers, tubs, sinks, and wall openings while moving humid air out of the room. Watch for recurring condensation, peeling paint, swollen trim, or musty odors, which can signal moisture problems. Plan ventilation alongside the layout, including where plumbing fixtures meet finished walls. Address leaks and persistent dampness before installing new cabinets or finishes, so an underlying issue doesn’t damage the updated bathroom.

Comments